Simple Guide to Installing Your WordPress Download
If you’re new to creating a website trying to figure out what to do after getting your WordPress download can be stressful. Hopefully this guide will help you with figuring out what to do once you get past downloading WordPress!
WordPress Download
There are multiple ways to get WordPress downloaded and installed. There are two main methods here at Cut All The Shit and we’re here to walk you through them. Option 1 would be to download the software from the WordPress.org website and installing it manually. Option 2 would be to simply use our easy install software called Softaculous to install it for you.
Option 1. Softaculous Installation
The first thing you’ll want to do is go into your cPanel and find the Softaculou Apps Installer inside of your control panel under the “Software” category. We have included a screenshot of this below.
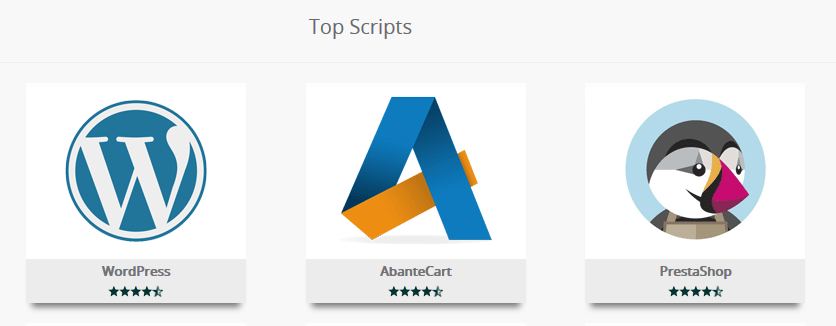
After you enter Softaculous one of the first things you’ll see is a WordPress icon 🙂 You can hover over this and click on install, or navigate to it from the left side by clicking on Blogs and finding WordPress that way.
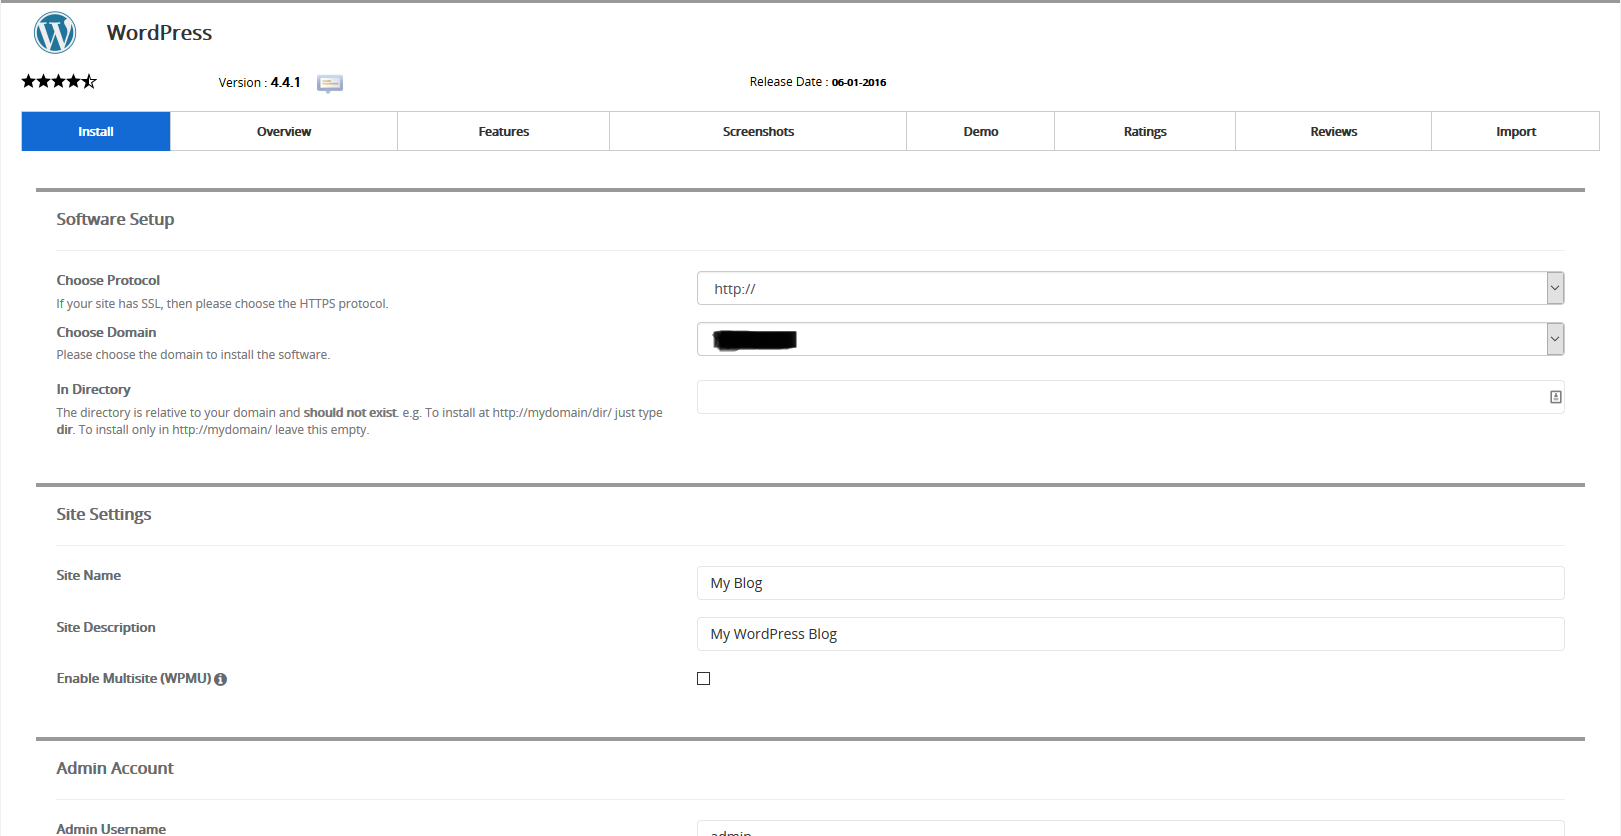
After you click to install WordPress you’ll be taken to a page with a short form to finalize your installation. All you have to do is fill in this form, make sure you leave the “directory” option blank if you want it to be installed directly on your domain. That’s it! You’re done 🙂 After you click install you’ll be taken to a page showing links to your new installation.
Option 2. Manual Installation
This method will be a little more in depth than the previous installation as it requires more steps, but we can do it if we work together 🙂
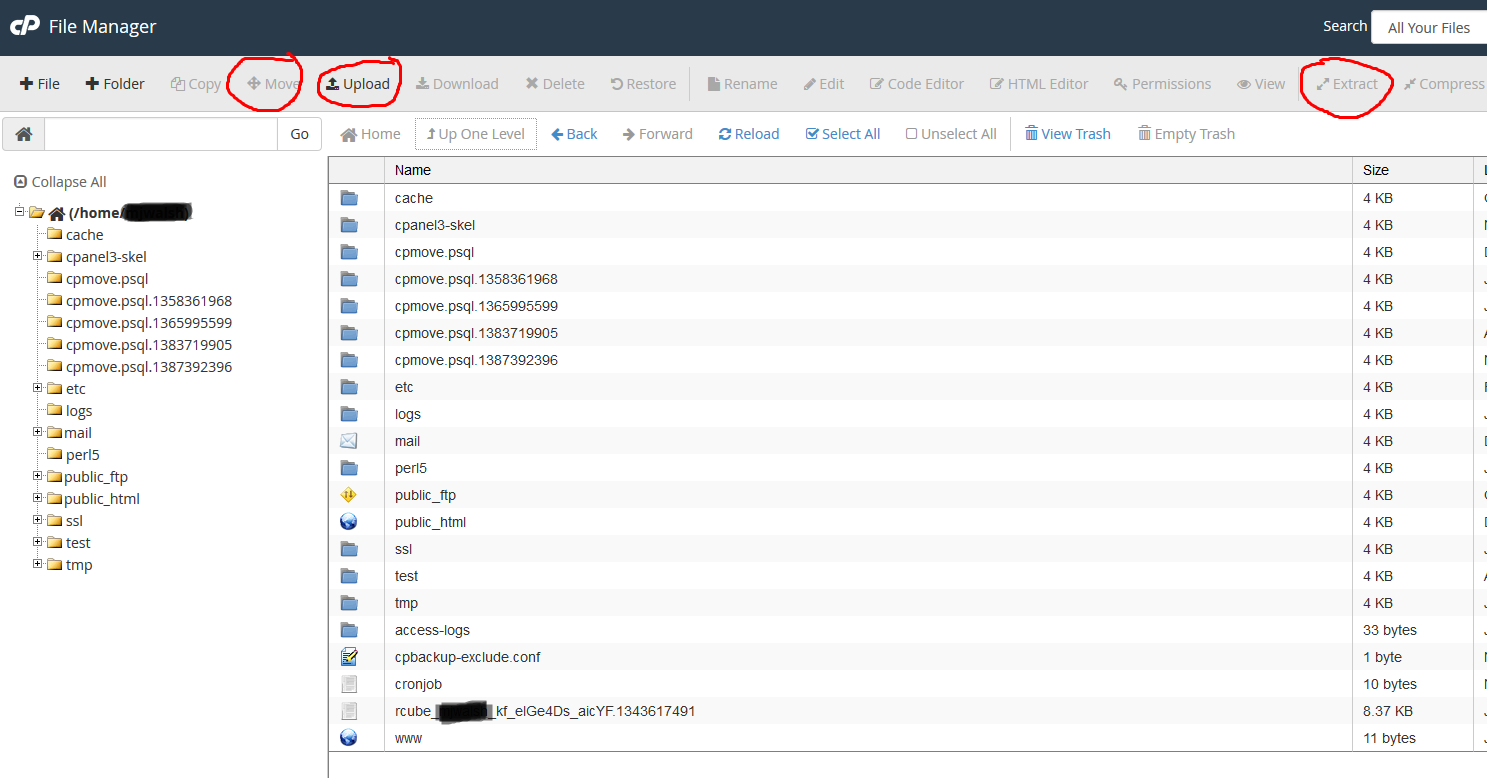
First you’ll need to go to the WordPress website and download WordPress which you can do by clicking here. After you have the zip file on your local computer you can extract this and upload the files through FTP, or you can upload the zip file into your account using our File Manager and then use the “unzip” option to extract it there. If you unzip it in our file manager you’ll then need to move the files from the /wordpress/ folder it extracts to, into your main domain folder.
 After you extract this and move the files from within the new /wordpress/ folder into your public_html folder you’ll then be able to visit your site and view a WordPress installation page. Prior to completing this installation page we’ll need to create a database and username for WordPress to install into, and then add proper permissions to this user.
In order to start you’ll need to find the “MySQL Databases” icon in your cPanel and click on it. The first option you’ll see is “Create a New Database”, you can do this and name it whatever you want, for this test we’ll say just call it “db”. Scroll down a bit and you’ll see a form to create a user, do so and make note of the username and password! After creating the user scroll down a tad more and you’ll see an area titled “Add User To Database”. Select the database and user you created and click “Add”. On the next page you can simply check the “select all” button to check all options and then click save.
Now we can start the installation!
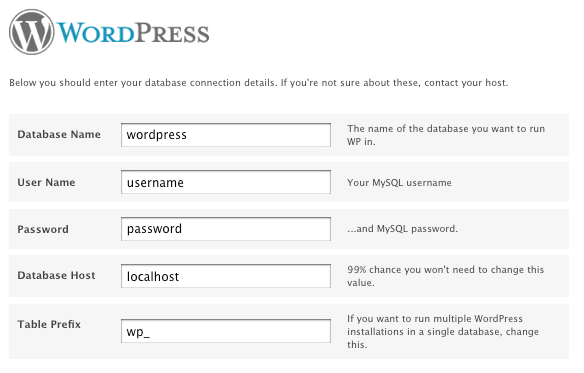
Navigate to your domain and click the start button on the installation. The first form you’ll see is the one displayed above. This is the area you need to type in the information for your database and username you just created. For cPanel all of our databases and users are prefixed with our username. So if your username is “tester” and you created a database named “db” you would type “tester_db” into the Database Name field. The same idea applies to the username, if your username is “tester” and the mysql user you made was just “user” then you would type “tester_user” into the User Name field. The password field is what you think that it is, just copy the password you made earlier into this field 🙂 The Table Prefix is not entirely important but for security purposes it is suggested to type in something other than the default so people cannot guess your table names. Doing something random like “fhg3_” is suggested so it’s not guessable.
Now you can click next, and if it’s all correct it will give you a success message and you can continue on with the installation which will simply ask you a few things like your site title, description, etc. If you run into any problems throughout this installation feel free to open up a live chat with our support team 🙂


